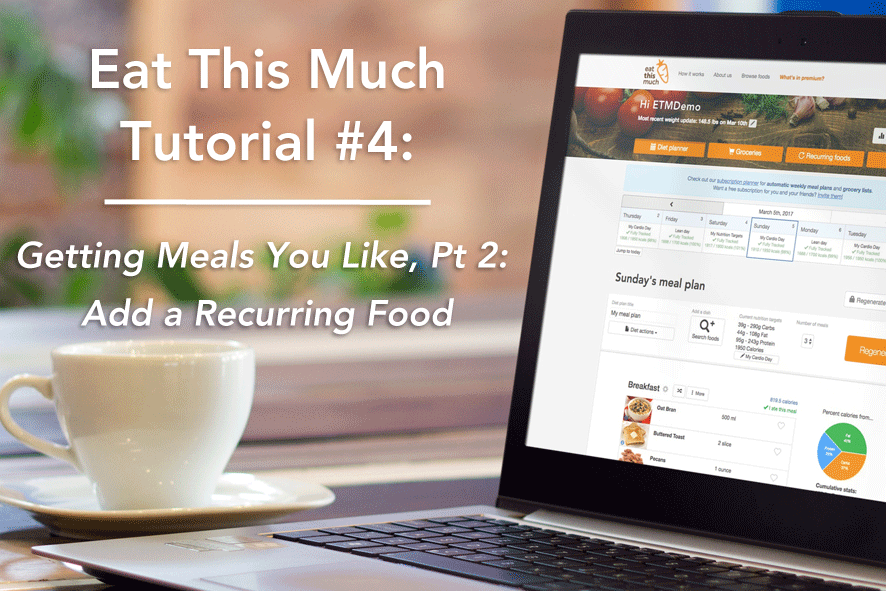
 Sometimes the best way to make progress is to go with what you know works. The easiest way to do this when using Eat This Much is setting up Recurring Foods in your profile. Your tried and true diet meals and snacks can be set to reappear in your plan so you have one less thing to think about. Here’s how it’s done:
Setting Up a Recurring Food
There are two methods for adding foods to your Recurring list; foods that are already in your planner and foods in our database.
On Your Computer: Method 1 – From your planner
Step 1: From the home page, hover over any food item to reveal the additional options for it on the left hand side. Click on the circle icon to set that food to recur.
Step 2: In the window that opens, choose the meal type you want to see this food recur in and choose whether you want it to recur “Often” or “Always.” As those names suggest, choosing “Always” will make that food appear in every plan for that meal type, and choosing “Often” will make it appear significantly more than other foods.
Step 3: Next, choose the amount and units you’d like for the recurring food, then click the “Add to meal” button to see the changes before closing the window.
On Your Computer: Method 2 – From the Food Bank.
Step 1: From the home page, click on the “Recurring Foods” button to open up that portion of your profile. Then click on either the arrow tab in the top left corner, or the “Search foods” button on the left. Both actions will open the Food Bank sidebar.
Step 2: Once the Food Bank is open, you can search for foods in Recipes, Generic foods, Branded foods, Favorites, Custom recipes, Custom foods, Restaurant foods and your Pantry. Once you find a food you want to set as recurring, simply drag that food to the meal you want it to recur in.
Step 3: Once you’ve placed the food, adjust its settings to the frequency and amount you prefer. By default, the food you’ve added will be set to recur “Often,” so if you want it to recur “Always” in that meal, use the drop down to make that adjustment and update the serving size.
From your phone, adding a recurring food follows the same two methods as on your desktop; foods already in your meal plan and foods from our database.
On Your Android or iOS phone, (Android screenshot featured) – Method 1: From your planner
Step 1: From the Planner Home screen, click on a food in your meal plan you’d like to set as recurring to open up its options. Then click on the “Recur” button in the upper right hand corner.
Step 2: On the following page, you can adjust the meal type you’d like it to recur in, the frequency, the amount and the units. Then click “Add recurring food” to see the update on the bottom of the page.
On your Android or iOS phone, (Android screenshot featured) – Method 2: From the Food Bank
Step 1: From the Planner Home screen, click the menu button in the top left hand corner to bring up all your options. Then scroll down and click on the “Recurring foods” option. On the resulting page, click the plus sign in the top right corner.
Step 2: After clicking the plus sign, browse through the food bank sections at the top of the screen for a recipe or food you want to set as recurring. The sections include Recipes, Generic Foods, Restaurant Foods, Branded Foods, Custom Recipes, Custom Foods and Favorites.
Step 3: Once you’ve found a food a food you want to set to recurring, click the “Add” plus sign on the right hand side, then click on the meal you want to add it to, in this case, Lunch.
Step 4: After the food has been added to the meal you want, click on the food to adjust its settings, including the frequency, amount and units. When you’re done, click the back arrow in the top left corner. NOTE: The planner will choose the amount of the food by default so if you want it to be something specific, don’t skip this step.


