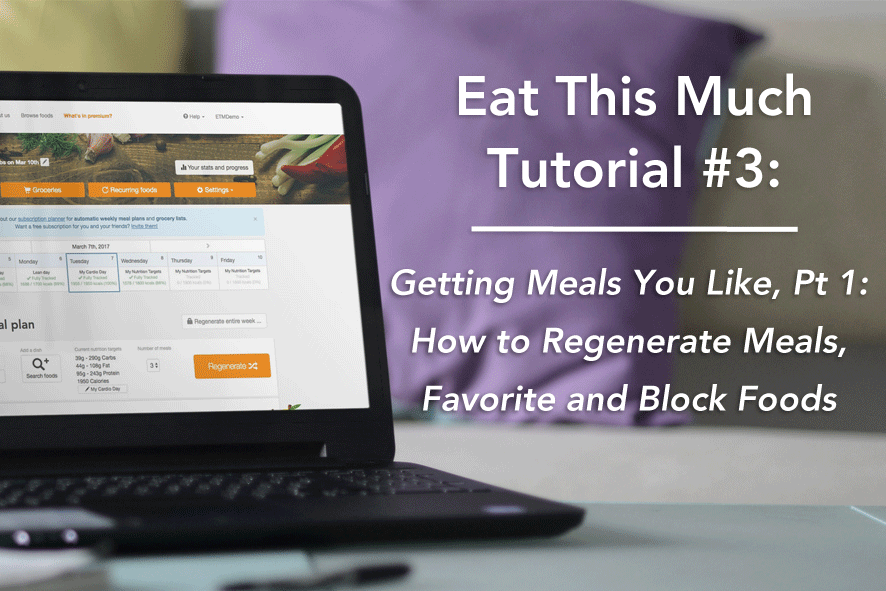
 What good is a meal plan if it’s full of foods you don’t want to eat? The Eat This Much algorithm is designed to provide healthy meals that fit your caloric and macro needs, but there’s no way we could account for every single person’s tastes. That’s why we created features to make it super easy for you to generate meals made of foods you love. In Part 1 of this tutorial, we’ll show you how to regenerate meals, favorite foods and block foods.
Regenerate Meals
This is the simplest way to get a new meal in your planner and there are two main ways to do it – regenerate your entire day OR regenerate individual meals.
On Your Computer:
Regenerating Your Entire Day – Just click that big orange button on the right that says “Regenerate” and watch your entire day refresh with new meals. NOTE – Premium Account members can regenerate an entire week at a time!
Regenerating a Single Meal – Each meal type comes with a “shuffle” button next to it that will regenerate just that meal. Clicking on it won’t impact the rest of your day’s meal plan. You can also hover over individual meal items to reveal a “shuffle” button on the left that will regenerate only that item.
On your Android or iOS phone, (Android screenshot featured):
Regenerating Your Entire Day – This is just as simple as it is on desktop. Just click the “Regenerate” button on the right hand side above your meals and watch them all refresh.
Regenerating a Single Meal – Swipe right on the meal type name and you’ll see the blue shuffle icon appear, indicating that a new meal is on its way.
How (and why) To Favorite Foods
When you Favorite a food in Eat This Much, it tells our algorithm to add this food to your meals more often. This is different from Adding a Recurring Food to your meal plan (which we cover in Part 2 of this tutorial) but using both will give you the best meals over time.
On Your Computer:
Step 1: Simply click on the heart next to each food item to add it to your Favorites. If you want to remove the food from your Favorites, just click the heart again.
Step 2: To review your Favorites, click on the Settings button on the top right, then click on the “Blocked/Favorited” option. From this screen you can delete foods from your Favorites list.
or
Click on the arrow in the upper left hand corner to reveal the Food Bank, then select the Favorites option to view and delete foods you’ve Favorited.
On your Android or iOS phone, (Android screenshot featured):
Step 1: Just like on desktop, simply click on the heart next to each food item to add it to your Favorites. If you want to remove the food from your Favorites, just click the heart again.
Step 2: To review your Favorites, click on the side menu and scroll down to your Favorites list. From here you can review your Favorites and edit the list to remove foods you don’t want any more.
How (and why) To Block Foods
Beyond the obvious allergies and dietary restrictions, there are plenty of reasons to block foods from being added to your meal plan. Perhaps you’re sick of eating eggs and don’t want them to show up for a while. Or maybe you want to see how your weight changes if you omit bread from your diet. Blocking foods is a great way to hone your diet plan and can be used for permanent or temporary changes. Here’s how:
On Your Computer:
Step 1: Hover over any food item in any meal to reveal the its options on the left hand side then click on the Block option. Clicking the Block option a second time will remove the items from your Blocked Foods list.
Step 2: From the home page, click on the Settings button on the right and select the “Blocked/Favorited” option to reveal your list of blocked foods, where you can review and delete items.
On your Android or iOS phone, (Android screenshot featured):
Step 1: Click on any food item to reveal its options page, then click on the “BLOCK” option on the right hand side. Clicking the “BLOCK” option a second time will remove the food from the Blocked list.
Step 2: From the Planner home screen, click the menu button in the top left hand corner to bring up all your options. Then scroll down and click on the “Blocked” option. From here you can review your Blocked foods and edit the list to remove foods you want to unblock.


