One of the hallmarks of the Eat This Much system is the amount of time it saves you when you want to build a healthy meal plan. We even have features that help you save time while you’re saving time! Rather than wait for the generator to produce the perfect meal for you, the list of alternative meals and food dragging options are great time savers. Here’s how they work:
Listing Alternative Meals
On Your Computer:
Step 1: From the home page, scroll down to the meal for which you’d like to view all the alternatives and click on the “More” button next to it. Then click on the “List alternative meals” option.
Step 2: On the resulting page, you’ll see your current meal and a list of alternatives. Browse through the alternative meals and their nutritional information until you find one that best fits what you’re looking for. (Note that not every single meal will be an exact replica in terms of calories and macros as the one you’re replacing.) Once you find something you like, click the blue “Replace with this meal” button to see it moved into your diet planner.
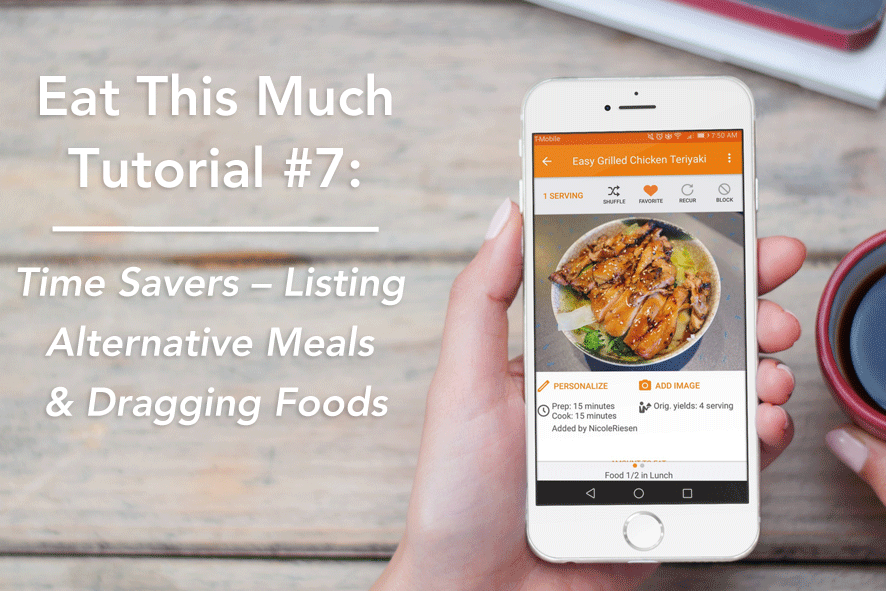
On your Android or iOS phone, (Android screenshot featured,) listing alternative meals looks like this:
Step 1: From the Planner Home screen, select the meal you’d like to view alternatives for and click the 3 dot menu button on the right hand side. Then select “View Alternatives” from the resulting dropdown menu.
Step 2: On the resulting page, scroll through the alternative meals until you find something you like. Then click the blue “REPLACE WITH THIS MEAL” button for it and you’ll see it replace your old meal in your plan.
Dragging Foods
On Your Computer:
From the planner home screen, scroll down so the meal you want to add a food to is visible. Then open the sidebar foodbank by clicking the arrow in the upper left hand corner. Once you find a food you want to add, simply click and drag it to that meal. This process is the same whether you want to add a generic food, recipe, custom recipe, custom food, branded food, restaurant food or favorite food.
On your Android or iOS phone, (Android screenshot featured,)
The “dragging” option isn’t available for mobile right now, but adding a food from our foodbank to your meal is just as simple.
From the Planner Home screen, click the big “+” in the upper right hand corner to bring up the “Add a food/recipe” page. Once you’ve chosen a food to add, click the “Add +” on the right hand side of the food. On the resulting page, simply click on the name of the meal you want to add it to and you’ll see it included in your meal plan. Just like on Desktop, this works the same whether you want to add a generic food, recipe, custom recipe, custom food, branded food, restaurant food, favorite food or anything else in our food database.


